
Tip & Trick
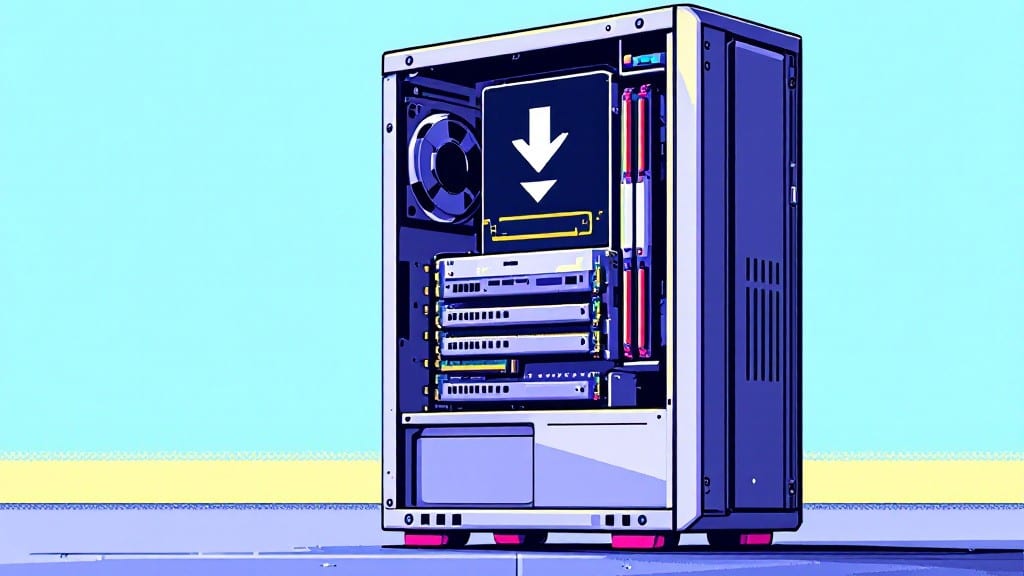
Installing RAM in a desktop PC is one of those upgrades that feels like cheating—more speed, more power, and no need to buy a whole new machine.
I still remember helping my dad slot in SIMMs for our old IBM AT back in Pittsburgh scrap yards, and the principle hasn’t changed much, just the hardware.
The key is patience and paying attention to those little clips that make all the difference between a working system and a paperweight.
You’ll need just three things: a Phillips-head screwdriver, an anti-static wrist strap (or ground yourself by touching the case), and your new RAM sticks. Before you touch anything, power down the PC, unplug it, and crack open the case—just enough to see the motherboard.
The RAM slots are those long, narrow sockets, usually near the CPU, with a small clip on either end that looks like a tiny metal gate. Match the notch on your RAM stick to the slot’s groove—if it doesn’t fit, you’ve got the wrong orientation.
Press firmly and evenly until you hear a satisfying click from both clips—no prying or wiggling. Once seated, the RAM should stand straight up like a soldier at attention. Reattach the case, plug everything back in, and boot up.
If Windows recognizes the new memory (check Task Manager under Performance), you’re golden. If not, we’ll troubleshoot: reseat the RAM, check for bent pins, or update your BIOS—though that last one’s rare for modern builds.
Here’s the thing—most modern motherboards handle mismatched RAM speeds by defaulting to the slowest stick, so don’t stress over exact specs. Just match the type (DDR4/DDR5) and capacity (32GB vs. 64GB), and you’ll be good to go.
The worst that’ll happen is a reboot or two while Windows adjusts, and even that’s better than paying someone else to do it for you.
📚 In This Guide
- What you need
- Instructions
- Tips and common mistakes
- Wrapping up and next steps
What you need
- ● RAM module(s): Check your motherboard’s manual for supported type (DDR4, DDR5, etc.) and capacity (e.g., 8GB, 16GB, 32GB). Buy a compatible kit (e.g., 2x8GB for dual-channel setups).
- ● Screwdriver (Phillips #2): For removing the computer case panel.
- ○ Anti-static wrist strap (optional but highly recommended): Prevents static damage to components.
- ● Compressed air or microfiber cloth: Cleans dust from RAM slots and case.
- ● Flashlight: Helps spot RAM slot notches in dim lighting.
- ● Zip ties or Velcro straps: Secures loose cables post-install.
- ● Motherboard manual: Critical for checking RAM slot locations and compatibility.
- ● Isopropyl alcohol (90%+) and cotton swabs: For stubborn dust or thermal paste cleanup.
- ● Power off your PC and unplug the power cable.
- ● Ground yourself by touching the metal case or wearing an anti-static strap.
- ● Work on a clean, flat surface (like a desk) to avoid dropping screws or RAM.
Step-by-Step instructions for installing RAM in a desktop PC
Here's the foolproof method I use to install memory modules without a hitch.
Power Down and Prepare the System
First, shut down your computer completely and unplug the power cable from the back of the tower. I always hold the power button for 5-10 seconds after unplugging to discharge any residual power in the motherboard. This prevents static electricity from damaging sensitive components when you handle the RAM.
Next, ground yourself by touching the metal chassis of the case. This ensures any static electricity built up in your body discharges safely before you touch the RAM modules. Open the case by removing the side panel screws—most cases use 2-4 thumbscrews—and set the panel aside on a clean, flat surface.
Locate the RAM Slots and Modules
Inside the case, find the RAM slots on the motherboard. They look like long, narrow slots with a small clip on the far end. The slots are usually labeled A1/B1, A2/B2, or something similar, indicating which modules should be paired together for dual-channel performance. If you're installing two identical modules, place them in the A2 and B2 slots for optimal performance.
Remove the RAM modules from their packaging by carefully peeling back the protective plastic on the sides. Hold the modules by their edges—never touch the gold contacts—to avoid transferring oils from your fingers that could interfere with the connection. The modules should have a notched corner that aligns with a corresponding notch in the slot.
Install the RAM Modules Correctly
Align the notch on the RAM module with the notch in the slot. Press down firmly and evenly until you hear a click and feel the clip on the slot snap into place. Don’t force it—if it doesn’t go in smoothly, you’ve likely got the module oriented wrong. The gold contacts should face toward the motherboard.
If you're installing two modules, repeat the process for the second module in the paired slot. For example, if the first module went into A2, the second should go into B2. If you're installing four modules, fill all four slots in the correct order—usually A1, B1, A2, B2—to maintain dual-channel configuration.
Secure the RAM and Reassemble the Case
Once the RAM modules are seated, give them a gentle wiggle to ensure they’re locked in place. You shouldn’t be able to pull them out easily—they should feel snug. If they move at all, reseat them firmly until they click into position.
Reattach the side panel of the case, securing it with the screws you removed earlier. Double-check that no cables are blocking the RAM modules or obstructing airflow. Plug the power cable back into the PSU and turn on the computer.
Verify Installation and Performance
When the system boots, listen for any beeps from the motherboard. Most modern motherboards don’t beep, but if yours does, check the manual for error codes. If you hear no beeps, the RAM is likely installed correctly. Enter the BIOS or UEFI setup (usually by pressing Del, F2, or F12 during boot) to confirm the RAM is detected.
After booting into Windows, open Task Manager by pressing Ctrl+Shift+Esc, then go to the Performance tab. Under Memory, you should see the total installed RAM matching your new modules. If the system runs slower than expected, reseat the RAM or check for compatibility issues with your motherboard’s manual.
Tips & tricks for installing RAM in a desktop PC
Even if you've watched a dozen videos, these practical tips will help you avoid the most common mistakes and ensure your RAM installation goes perfectly the first time.
Static Electricity Safety: I can't stress this enough—static electricity is the silent killer of RAM installations. After unplugging your system and holding the power button for 5-10 seconds as instructed in Step 1, take it one step further by using an anti-static wrist strap if you have one. If not, work on a carpeted surface or touch the metal case frequently. I've seen perfectly good RAM fail because someone touched the gold contacts after walking across hardwood floors. The 5-10 second discharge is good, but don't stop there.
Slot Identification Shortcut: Most motherboards have a small notch in the RAM slots that matches the notch on your RAM modules. But here's what nobody tells you—look for the tiny gold pins at the bottom of the slots. These are actually part of the motherboard's memory keying system. If your RAM doesn't have a matching notch, check if it's a "universal" module that can go in any slot. Some high-end modules have no notch at all and can be inserted either way. Always verify with your motherboard manual first, though.
The Proper Press Technique: When installing your RAM in Step 3, you might feel resistance at first—that's normal. The key is to press down firmly and evenly on both ends of the module simultaneously until you hear that satisfying click. What most people don't realize is that you should press straight down, not at an angle. I've seen people try to wiggle the module into place, which can bend the clips. Apply even pressure—think of it like snapping a book shut. If it doesn't click after firm pressure, you've likely got it oriented wrong.
Dual-Channel Configuration: If you're installing two modules for dual-channel performance as mentioned in Step 2, pay attention to the slot labels. The A2/B2 slots are typically the second pair and are designed for dual-channel operation. But here's the catch: some motherboards have all four slots in dual-channel pairs (A1/B1 and A2/B2). Always check your motherboard manual to confirm the optimal configuration. I once installed RAM in A1 and A2 slots by mistake, which gave me single-channel performance instead of the expected dual-channel speed boost.
Pro Tips for Install Ram In A Desktop Pc
- Even if you've watched a dozen videos, these practical tips will help you avoid the most common mistakes and ensure your RAM installation goes perfectly the first time.
- Static Electricity Safety: I can't stress this enough—static electricity is the silent killer of RAM installations.
- Slot Identification Shortcut: Most motherboards have a small notch in the RAM slots that matches the notch on your RAM modules.
Frequently asked questions
Got questions about upgrading your RAM? You’re not alone! Here are answers to the most common concerns to help you feel confident before diving in.
Do I need to shut down my PC completely to install RAM?
Yes! Always power off your PC, unplug it, and press the power button to discharge any residual energy. Working on a live system risks damaging components or getting a shock. Safety first—no shortcuts here!
Can I mix different RAM brands or speeds?
Technically yes, but it’s not recommended unless you’re intentional about it. Stick to the same brand, speed (e.g., DDR4-3200), and type (e.g., 16GBx2) for stability. Mixing can cause performance bottlenecks or system crashes. Check your motherboard manual for supported kits!
How long does RAM installation take?
For beginners, plan 10–20 minutes—longer if you’re troubleshooting or reading manuals. Pro tip: Watch a YouTube tutorial beforehand to visualize the steps. Once you’ve done it once, future upgrades will take just 5 minutes!
What if my RAM sticks don’t fit or my PC won’t boot?
Double-check these fixes:
- Seating: Press firmly until the clips click—no wiggle room!
- Compatibility: Verify your motherboard supports the RAM type (e.g., DDR4 vs. DDR5).
- BIOS Update: If the PC boots to a black screen, update your BIOS to the latest version.
- Single Stick Test: Try one stick at a time in Slot A1/B1 (check your manual).
Is upgrading RAM worth it for gaming?
RAM upgrades dramatically improve multitasking and game performance—especially for modern titles like Cyberpunk 2077 or Fortnite. Aim for at least 16GB (2x8GB) for 1080p gaming; 32GB+ if you stream or run heavy mods. It’s one of the cheapest upgrades with the biggest payoff!
Wrapping up and next steps
Installing RAM in your desktop PC is simpler than you might think—just follow the steps carefully, and you’ll be boosting your system’s performance in no time! 🚀 With the right tools, patience, and a little confidence, you’ve now mastered a crucial upgrade that can make multitasking and gaming smoother than ever.
Now that you’ve got your RAM up and running, why not take the next step? Explore other upgrades like a faster SSD, more storage, or even a graphics card to future-proof your setup. Your PC’s potential is limitless—go ahead and level it up! 💪