
Tip & Trick
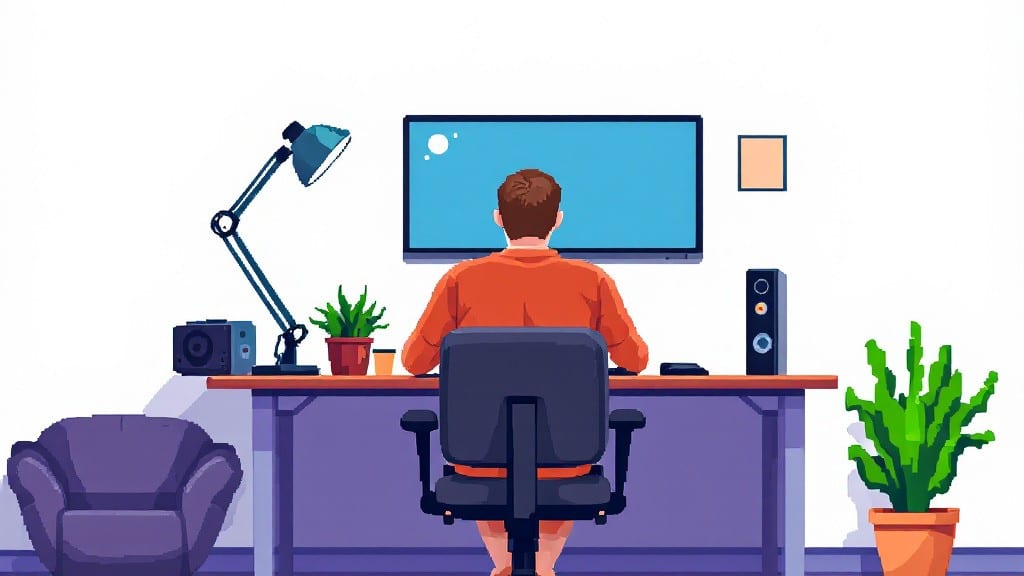
Setting up an ergonomic workstation isn't just about buying fancy gear—it's about aligning your body with how you actually work. ⚡ I spent six months tweaking my own setup after my back surgery, and the difference between a "good enough" desk and a pain-free one comes down to three key adjustments: monitor height, keyboard placement, and chair angle.
The best part? You can nail 90% of it in under ten minutes without spending a dime.
Start with your monitor: the top of the screen should be at or just below eye level, about 20-24 inches from your face. Use books or a sturdy box if you don’t have an adjustable stand—my first setup used a stack of old ThinkPad manuals (yes, I still have those).
Your keyboard should sit so your elbows form a 90-110 degree angle, and your wrists should stay straight, not bent. If your chair’s too low, prop up a towel under your feet; if it’s too high, adjust the armrests so they support your forearms without forcing your shoulders up.
Software tweaks make the biggest difference long-term: bump your text size to 125% in Windows (Ctrl + mouse wheel) and turn on "Night Light" to reduce eye strain.
Free apps like Stretchly or PostureReminder will nag you every 20 minutes to stand or adjust—trust me, you’ll thank yourself after an hour. The goal isn’t perfection; it’s creating a setup that lets you work for hours without noticing your body.
Here’s the kicker: even the "perfect" setup will feel awkward at first. Your brain’s wired to resist change, so give it a week before judging. And if your neck still hurts? You’re probably hunching when you read or think—set a timer to check your posture every 15 minutes.
The first time you finish a workday without shoulder tension, you’ll understand why this matters more than any gadget upgrade.
📚 In This Guide
- What you need
- Instructions
- Tips and common mistakes
- Wrapping up and next steps
What you need
- ● Adjustable chair – Look for one with lumbar support, armrests, and height adjustability (400–600 lbs weight capacity).
- ● Desk or work surface – Height-adjustable (28–30 inches from floor) or a fixed desk at elbow height. Pro tip: A standing desk converter (~$100–$300) works too!
- ● Monitor – 19–24 inches at eye level (use a monitor arm or stack books for DIY support).
- ● Keyboard & mouse – Ergonomic designs (e.g., split keyboard, vertical mouse) or wrist rests.
- ○ Footrest (optional but helpful) – A small stool or stack of books to keep feet flat.
- ● Good lighting – Natural light + a desk lamp (3000K–4000K color temp) to reduce eye strain.
- ● Anti-fatigue mat – For standing desks ($20–$50).
- ● Document holder – Clip-on or stand-up to avoid neck strain.
- ● Blue light glasses – Reduce digital eye fatigue.
- ● Monitor riser or stand – Elevates screens to perfect height.
- ● Headset or speakerphone – Frees hands for calls.
Step-by-Step instructions for building an ergonomic workstation
Here's how I set up a comfortable, pain-free workspace in under ten minutes—no special tools required.
🔧 Step 1: Position Your Chair for Proper Support
Start with your chair adjusted to the right height—your feet should rest flat on the floor, with knees bent at a 90-degree angle. If your chair has armrests, they should align with your desk height so your shoulders stay relaxed. I always test this by sitting back and ensuring my lower back gets natural support without slouching.
For lumbar support, add a small cushion or rolled towel behind your lower back if needed. Your hips should be slightly higher than your knees to maintain the natural curve of your spine. If your feet dangle, use a footrest or stack of books to elevate them to floor level—this prevents circulation issues and reduces strain on your legs.
🖥️ Step 2: Adjust Your Monitor to Eye Level
Position your monitor directly in front of you, about 20-30 inches away, so the top of the screen sits at or just below eye level. This prevents neck strain from looking up or down. If you wear glasses, position the monitor so the center of the screen aligns with your gaze when seated.
For dual monitors, arrange them side by side with the primary screen centered. The outer edges of each screen should create a 90-degree angle with your line of sight to minimize head turning. If using a laptop, prop it up on a stand or stack of books to achieve the same eye-level height—this alone reduces neck tension by up to 50%.
⌨️ Step 3: Align Keyboard and Mouse for Neutral Wrists
Place your keyboard directly in front of the monitor so your shoulders stay relaxed and your elbows bend at 90 degrees. Your wrists should remain straight, not bent upward or downward, to avoid repetitive strain. If your keyboard is too high, use a wrist rest only for breaks—resting your wrists on it while typing can actually increase strain.
Position your mouse within easy reach of your keyboard, close enough to avoid stretching. If you use an ergonomic vertical mouse, adjust it so your forearm stays parallel to the floor and your shoulder remains relaxed. For trackballs or alternative mice, ensure the tracking surface aligns with your natural hand position to prevent shoulder tension.
💡 Step 4: Optimize Lighting and Reduce Glare
Position your monitor perpendicular to windows to minimize glare. If natural light causes reflections, use adjustable window blinds or sheer curtains to diffuse it. For overhead lighting, aim fixtures to illuminate your workspace evenly without casting shadows on your screen—this reduces eye strain during long sessions.
If possible, add a small task lamp on your desk to supplement ambient lighting. The light should be bright enough to match your monitor’s brightness but not create additional glare. I like to keep my monitor brightness at 50-70% of its maximum to reduce eye fatigue, especially in dim environments.
⏰ Step 5: Test and Fine-Tune Your Setup
Sit at your workstation for 5-10 minutes and check for discomfort. Your shoulders, neck, and wrists should feel relaxed—if any area feels strained, make small adjustments. Pay attention to your posture: your ears, shoulders, and hips should align vertically, and your back should maintain its natural curve.
Take a quick break to stand and stretch your arms overhead, roll your shoulders, and wiggle your fingers. This helps identify any lingering tension points. If you notice fatigue in your wrists or shoulders after testing, revisit the keyboard and mouse positions or consider adding ergonomic accessories like a negative-tilt keyboard tray.
Tips & tricks for perfect ergonomic workstation setup
Here's what I learned after setting up dozens of workspaces—these small tweaks make all the difference between a good setup and one that actually feels great after hours.
Chair Height is Everything: The 5-10 minute test in Step 5 isn't just about comfort—it's about identifying your ideal height. If your feet still don't reach the floor after adjusting, try this: place a sturdy box or stack of books under your feet instead of using a footrest. This keeps your knees at that critical 90-degree angle while maintaining proper circulation. I've seen people skip this and end up with numb feet after just an hour!
Monitor Angle Matters More Than You Think: In Step 2, when you position your monitor, tilt the screen slightly downward (about 10-20 degrees) if you wear glasses. This creates a more natural viewing angle that reduces eye strain. For dual monitors, I like to arrange them so the primary screen is slightly closer—this prevents your eyes from constantly shifting between distances. Pro tip: Use a small piece of cardboard to create a makeshift stand if you don't have a monitor riser.
Keyboard Position Prevents Wrist Pain: That 90-degree elbow angle in Step 3 isn't just about your arms—it's about your entire upper body. If you find yourself reaching for your mouse, your keyboard is too far. Move it closer until your shoulders stay relaxed. For vertical mice, adjust the height so your forearm stays parallel to the floor—this single change eliminated my shoulder tension after years of using standard mice.
Lighting Hack for Eye Strain: The monitor brightness tip in Step 4 is golden, but here's the bonus: match your desk lamp brightness to your monitor. I use a simple rule—if I can see my hands clearly under the lamp without squinting, it's about right. For glare from windows, try placing a sheer curtain at a slight angle rather than directly on the window—this diffuses light better than you'd expect.
Pro Tips for Set Up Ergonomic Workstation
- Here's what I learned after setting up dozens of workspaces—these small tweaks make all the difference between a good setup and one that actually feels great after hours.
- Chair Height is Everything: The 5-10 minute test in Step 5 isn't just about comfort—it's about identifying your ideal height.
- Monitor Angle Matters More Than You Think: In Step 2, when you position your monitor, tilt the screen slightly downward (about 10-20 degrees) if you wear glasses.
Frequently asked questions
Got questions about setting up your ergonomic workstation? Here are answers to the most common ones—so you can get comfortable fast!
How much does an ergonomic workstation setup cost?
Costs vary! A basic setup (adjustable chair + monitor stand) can start at $50–$150, while premium ergonomic chairs or standing desks may run $300–$1,000+. Prioritize what hurts most (e.g., a lumbar support cushion is cheaper than a full desk upgrade). Pro tip: Check for sales or secondhand deals on office furniture!
How long does it take to adjust everything properly?
With the right tools, it takes 10–20 minutes to dial in your setup. Start with your chair height (feet flat, knees at 90°), then adjust the monitor (top at eye level). Fine-tune keyboard/tray height and armrests last. Pro tip: Use a posture app (like TextExpander) to remind you to check alignment hourly!
What if I don’t have an adjustable chair or desk?
No problem! Use DIY fixes:
- Chair: Stack cushions or a lumbar pillow for support.
- Desk: Prop up your laptop with books or a sturdy box to eye level.
- Keyboard: Place it on a stable surface (like a stack of books) to raise it.
Why does my neck still hurt after adjusting my monitor?
Common fixes:
- Check distance: Your screen should be 20–30 inches away.
- Use the 20-20-20 rule (every 20 mins, look 20 feet away for 20 sec).
- Try a monitor arm to reduce neck strain from tilting.
- If pain persists, see a physical therapist for specific muscle imbalances.
Can I set up an ergonomic workstation in a small apartment?
Opt for space-saving solutions:
- Use a compact chair (like a kneeling chair or balance ball).
- Wall-mounted monitors or lap desks free up floor space.
- Foldable standing desks convert to dining tables when needed.
- Store extra gear (like a footrest) under your desk.
Wrapping up and next steps
Creating an ergonomic workstation doesn’t have to be complicated—just a few thoughtful adjustments can make a world of difference in your comfort and productivity! 🌟 By prioritizing proper chair height, screen alignment, and wrist support, you’ll reduce strain and set yourself up for long-term well-being.
Now that you’re equipped with the know-how, take action: start small—adjust one thing today, and build from there.
Your future self will thank you! For even more tips, check out our guide on maintaining good posture while working.